Step-by-Step Guide to Applying Rainbow Stickers for Walls Without Damage
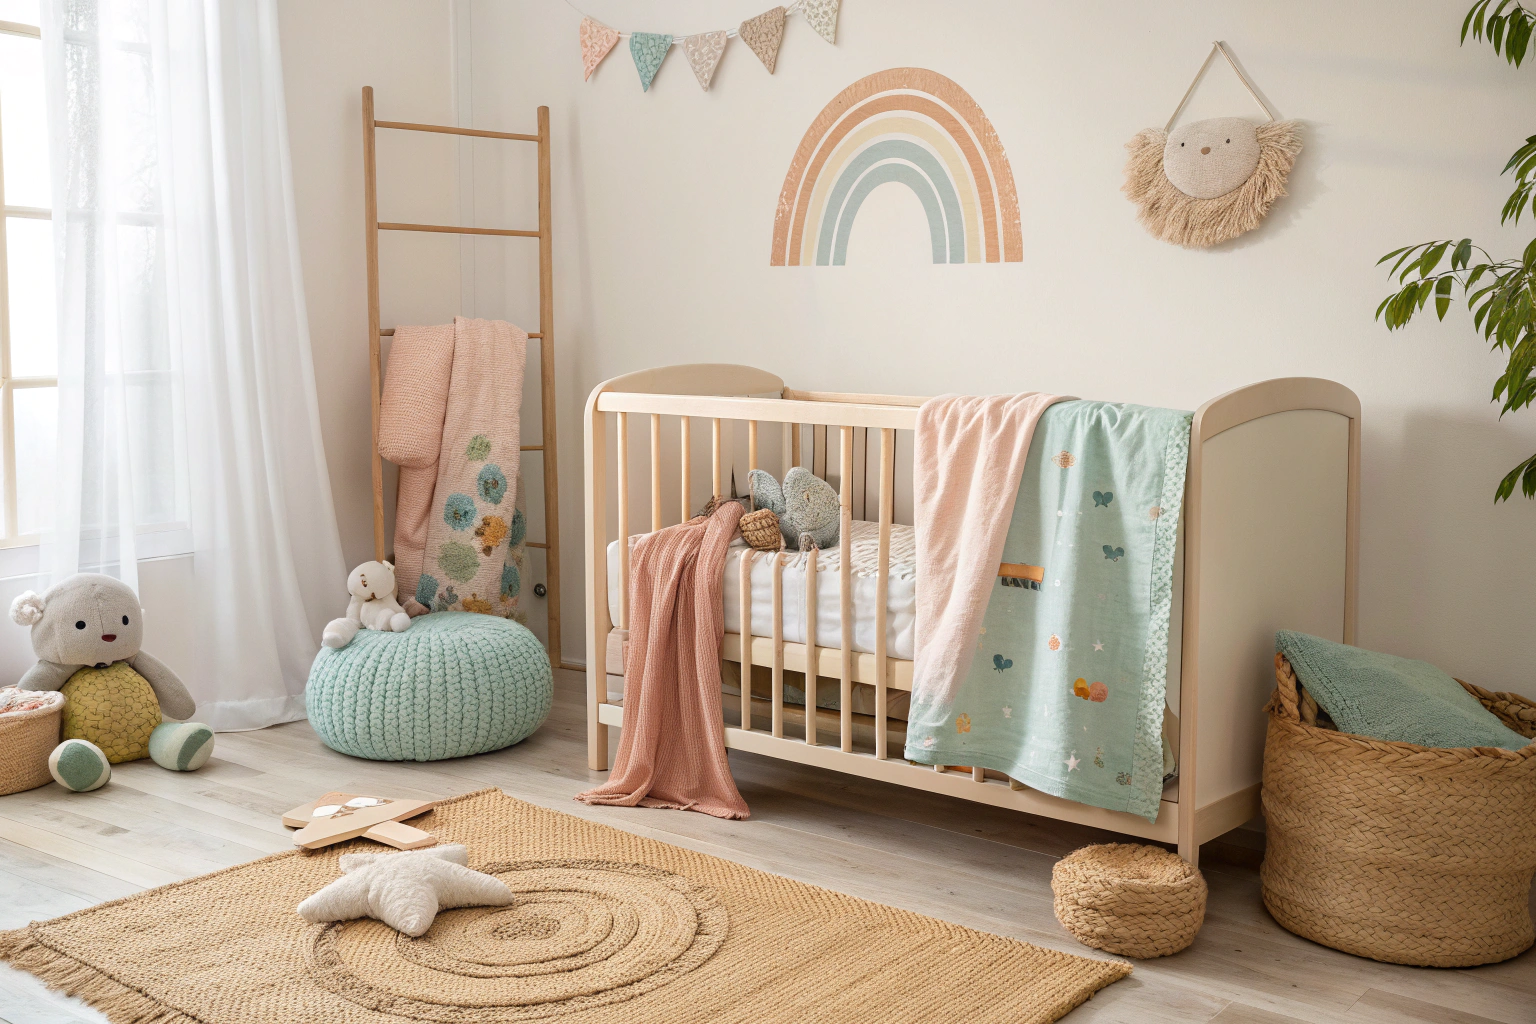
Adding a splash of color and whimsy to any room is easy with Nursery Stickers. Rainbow stickers for walls are a popular choice for nurseries, kids’ rooms, or even cheerful living spaces. However, applying these stickers without damaging your walls can sometimes be tricky. Whether you’re a first-timer or looking to refresh your decor, this guide will walk you through the best techniques to ensure your rainbow stickers look perfect and come off cleanly when you’re ready for a change.
Preparation: The Foundation for Flawless Application
1. Choose the Right Surface
Before you start, ensure the wall surface is smooth, clean, and dry. Stickers adhere best to painted walls with a satin or eggshell finish. Avoid textured walls, wallpaper, or freshly painted surfaces (wait at least two weeks after painting).
2. Clean the Wall Thoroughly
Use a soft cloth with mild soap and water to remove dust, dirt, or grease from the wall. Any residue can prevent the sticker from adhering properly. After cleaning, dry the wall completely with a lint-free towel.
Applying Your Rainbow Stickers: A Precise Process
3. Plan Your Layout
Lay out your rainbow stickers on a flat surface to visualize the arrangement before application. Use painter’s tape to mark where each sticker will go on the wall. This step helps avoid unnecessary repositioning, which can reduce adhesive quality.
4. Peel Carefully
Gently peel the sticker from its backing. If the sticker is large or intricate, peel back only a small section at a time to maintain control and prevent stretching or tearing.
5. Apply Slowly and Smoothly
Start from one edge and slowly press the sticker onto the wall, smoothing it out with your hand or a plastic squeegee. This technique helps avoid air bubbles and wrinkles. Work from the center outwards to push out trapped air.
6. Use a Soft Cloth for Finishing Touches
Once fully applied, gently rub over the sticker with a soft cloth to ensure strong adhesion and smooth out any remaining bubbles.
Removing Rainbow Stickers Without Damaging Walls
7. Heat Helps Loosen Adhesive
When it’s time to remove the stickers, use a hairdryer on a low setting to warm the adhesive for about 30 seconds. This softens the glue making removal easier and less likely to peel paint.
8. Peel Slowly
Start lifting from one corner and peel the sticker back slowly and steadily at a 45-degree angle. Avoid pulling straight out from the wall as this can cause damage.
9. Clean Residue Gently
If any adhesive residue remains, use a soft cloth with warm soapy water or a gentle adhesive remover safe for painted walls. Always test the remover on a small, hidden area first.
Final Tips for Long-Lasting and Damage-Free Decor
- Always handle stickers with clean hands to avoid transferring oils or dirt.
- Store unused stickers flat in a cool, dry place to preserve adhesive quality.
- Consider using a clear removable topcoat spray designed for decals to extend durability.
By following these steps, you can confidently apply and remove rainbow stickers for walls without worrying about damaging your paint or leaving sticky residue behind. Brighten up your space with these delightful decals and enjoy a colorful, damage-free transformation!
Leave a Reply